Turning a logo into an embroidery design is more than changing a file extension. A digital logo may look perfect on a screen, but embroidery machines need a carefully planned stitch file to recreate it on fabric.
If you want to convert logo into JEF file, you need to transform artwork into embroidery instructions that a compatible machine can read. The process includes digitizing shapes, selecting stitch types, setting density, choosing colors, and adjusting the design for fabric.
This guide explains the process in simple terms and shares practical tips to help you create a clean, professional JEF embroidery file.
What Is a JEF Embroidery File?
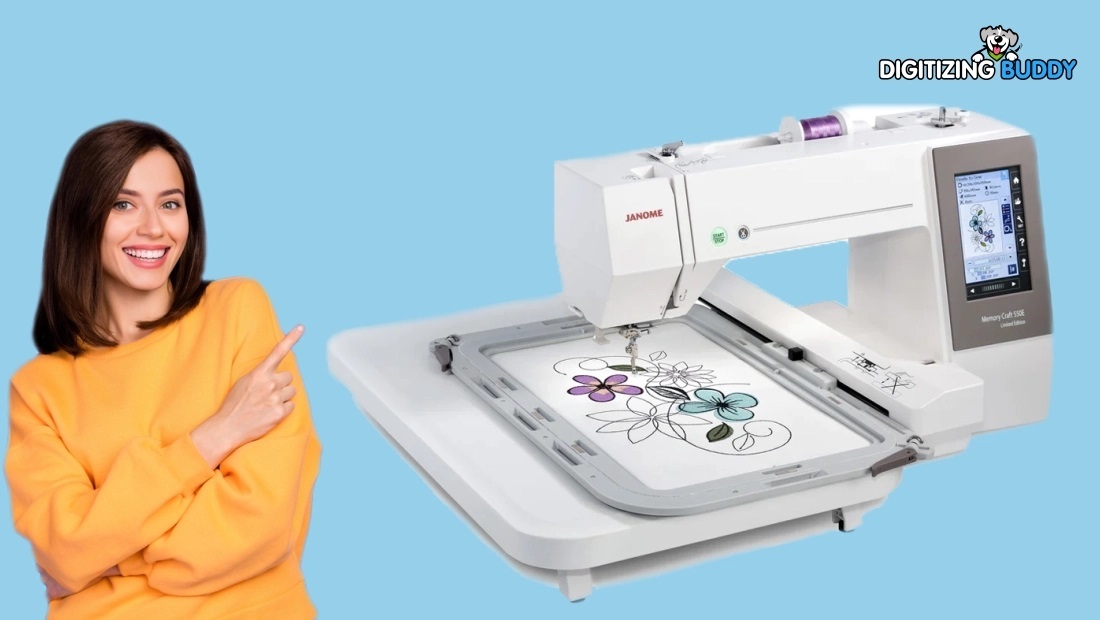
JEF is an embroidery file format commonly associated with Janome embroidery machines. It stores information that tells the machine how to stitch a design.
A JEF file can contain details such as:
- Stitch placement
- Stitch direction
- Thread colors
- Design size
- Stitch sequences
- Machine movement instructions
Unlike a JPG, PNG, or other image file, a JEF file is not simply a picture. It contains embroidery-specific data that the machine follows while stitching.
Why Convert a Logo into JEF File?
Logos are widely used on uniforms, caps, jackets, bags, promotional items, and other products. Converting a logo into a suitable embroidery format makes it possible to reproduce that branding with thread.
When you convert logo into JEF file, you can prepare artwork for compatible embroidery machines while controlling important details such as stitch count, color changes, and design size.
A properly digitized logo can provide:
- Cleaner embroidery
- Better stitch placement
- Improved fabric coverage
- More consistent lettering
- Fewer unnecessary color changes
- Better machine performance
However, simply converting an image file to JEF is not enough. The artwork must first be digitized correctly.
How to Convert Logo into JEF File
The conversion process usually involves several important stages.
1. Prepare Your Logo
Start with the clearest version of your logo available. A high-resolution image or vector artwork makes the digitizing process easier.
Remove unnecessary details and make sure the logo has clear shapes and readable text.
Useful source formats may include:
A simple, clean logo is usually easier to digitize than a detailed image with many tiny elements.
2. Analyze the Artwork
Before creating stitches, examine the logo carefully.
Identify:
- Large background areas
- Small details
- Outlines
- Text
- Curved shapes
- Color sections
- Fine lines
This helps determine which embroidery stitch types will work best for each part of the design.
3. Choose Suitable Stitch Types
Different parts of a logo may require different embroidery stitches.
Satin stitches work well for borders, lettering, and narrow shapes.
Fill stitches are commonly used to cover larger areas.
Running stitches can be useful for thin lines and fine details.
The goal is not to use the same stitch everywhere. Each element should be digitized according to its shape, size, and fabric requirements.
4. Set Stitch Density
Stitch density determines how closely stitches are placed together.
Too much density can make an embroidered area heavy and may increase the chance of thread or needle problems. Too little density can leave gaps or produce weak coverage.
Good digitizing balances coverage with stitch efficiency.
5. Set Stitch Direction
Stitch direction affects the appearance and texture of embroidered areas.
For example, changing the angle of stitches can help define different sections of a logo. Proper stitch direction can also improve the visual flow of the finished embroidery.
6. Add Underlay
Underlay stitches provide a foundation beneath the main embroidery.
They can help:
- Stabilize fabric
- Support top stitches
- Improve coverage
- Reduce distortion
- Keep shapes more defined
The correct underlay depends on the design, fabric, and stitch type.
7. Assign Thread Colors
Match the embroidery thread colors to the original logo as closely as practical.
Keep in mind that thread and screen colors can look different. A color that appears exact on a monitor may have a slightly different appearance when stitched.
For brand logos, maintaining recognizable color relationships is often more important than matching every digital color value perfectly.
8. Set the Correct Design Size
Size matters in embroidery.
A logo that looks good at a large size may lose small details when reduced. Tiny text, narrow gaps, and fine lines may need to be simplified.
Always consider the final embroidery size before completing the JEF file.
9. Save or Export as JEF
Once the design has been properly digitized and checked, it can be exported in JEF format when your embroidery software supports the format.
At this stage, verify the:
- Design dimensions
- Stitch count
- Thread colors
- Stitch sequence
- Number of color changes
- Overall appearance
The resulting JEF file can then be transferred to a compatible machine using the appropriate method.
Logo Image vs. JEF File
Understanding the difference between an image and an embroidery file is important.
| Logo Image |
JEF Embroidery File |
| Made from pixels or graphic shapes |
Made from embroidery instructions |
| Designed for screens or print |
Designed for stitching |
| Does not contain stitch information |
Contains stitch information |
| Can show unlimited visual detail |
Detail must be suitable for thread |
| Not directly stitch-ready |
Intended for compatible embroidery machines |
This is why a normal image-to-JEF conversion should involve proper embroidery digitizing rather than a simple file-format rename.
Common Problems When Converting Logos
Even a good logo can produce poor embroidery if it is not digitized correctly.
Tiny Details Disappear
Very small details may not translate well into stitches. Simplifying these elements can make the final design clearer.
Lettering Becomes Hard to Read
Small embroidered text needs careful stitch planning. Incorrect sizing, density, or stitch direction can make letters appear crowded.
Gaps Appear Between Elements
Fabric can shift or pull during embroidery. Proper compensation and stitch planning can help maintain intended shapes.
Too Many Stitches
Adding unnecessary stitches can increase production time and create excessive thread buildup.
A skilled digitizing process focuses on efficient stitch placement rather than simply increasing stitch count.
Tips for Better JEF Logo Conversion
If you want a reliable result, keep these practices in mind:
- Start with high-quality artwork. Clear source material makes digitizing easier.
- Consider the final size. Design for the actual embroidery dimensions.
- Simplify tiny details. Thread cannot reproduce every screen-level detail.
- Use suitable stitch types. Match stitches to the shape and purpose of each element.
- Check stitch density. Avoid both weak coverage and excessive thread buildup.
- Use proper underlay. A stable foundation improves many embroidery designs.
- Preview the stitch sequence. Look for unnecessary jumps and color changes.
- Test the design when possible. A sample stitch-out can reveal problems that are difficult to see on screen.
When Should You Use Professional Digitizing?
If the logo is simple and you have suitable embroidery software, you may be able to digitize it yourself.
Professional help becomes useful when the design includes:
- Small lettering
- Complex shapes
- Multiple colors
- Detailed artwork
- Gradient-like effects
- Fine outlines
- Different fabric types
- Large production quantities
A professional digitizer can adjust the design based on embroidery behavior instead of treating it like ordinary graphic artwork.
At Digitizing Buddy, logo artwork can be prepared with embroidery requirements in mind, including stitch selection, density, underlay, sizing, and machine-ready file preparation.
Final Thoughts
To convert logo into JEF file, you need more than a basic image conversion. The artwork must be translated into properly planned stitches that an embroidery machine can understand and reproduce.
Start with clean artwork, choose appropriate stitch types, control density, plan stitch direction, and always consider the final fabric and design size. Most importantly, preview and test the design whenever possible.
With careful digitizing, a simple digital logo can become a clean and professional embroidered design ready for compatible JEF embroidery machines.
FAQs
Can I convert a JPG logo directly into a JEF file?
A JPG cannot normally become a high-quality embroidery design simply by changing its file extension. The artwork needs to be digitized into stitches and then exported as JEF.
What software is needed to create a JEF file?
You need embroidery digitizing software that supports creating or exporting JEF files. The exact workflow depends on the software you use.
Is JEF suitable for every embroidery machine?
No. JEF is associated with compatible Janome embroidery systems. Always check your machine's supported file formats before transferring a design.
Can a detailed logo be converted into JEF?
Yes, but highly detailed artwork may need simplification. Very small elements can be difficult to reproduce clearly with thread.
How can I get a professional JEF logo file?
You can work with a professional digitizing service such as Digitizing Buddy to have your logo converted into a properly digitized embroidery design based on its intended size, fabric, and machine requirements.
 Sgiinternational
11 minutes, 51 seconds
Sgiinternational
11 minutes, 51 seconds