Choose a test user to login and take a site tour.

 Sgiinternational
vie. at 15:15
15 minutes, 18 seconds
Sgiinternational
vie. at 15:15
15 minutes, 18 seconds
41 views 0 Comments 0 Likes 0 Reviews
Have you ever found the perfect logo or picture for embroidery, only to discover that your machine cannot use the original image file? A JPG or PNG may look great on your computer, but an embroidery machine needs stitch instructions.
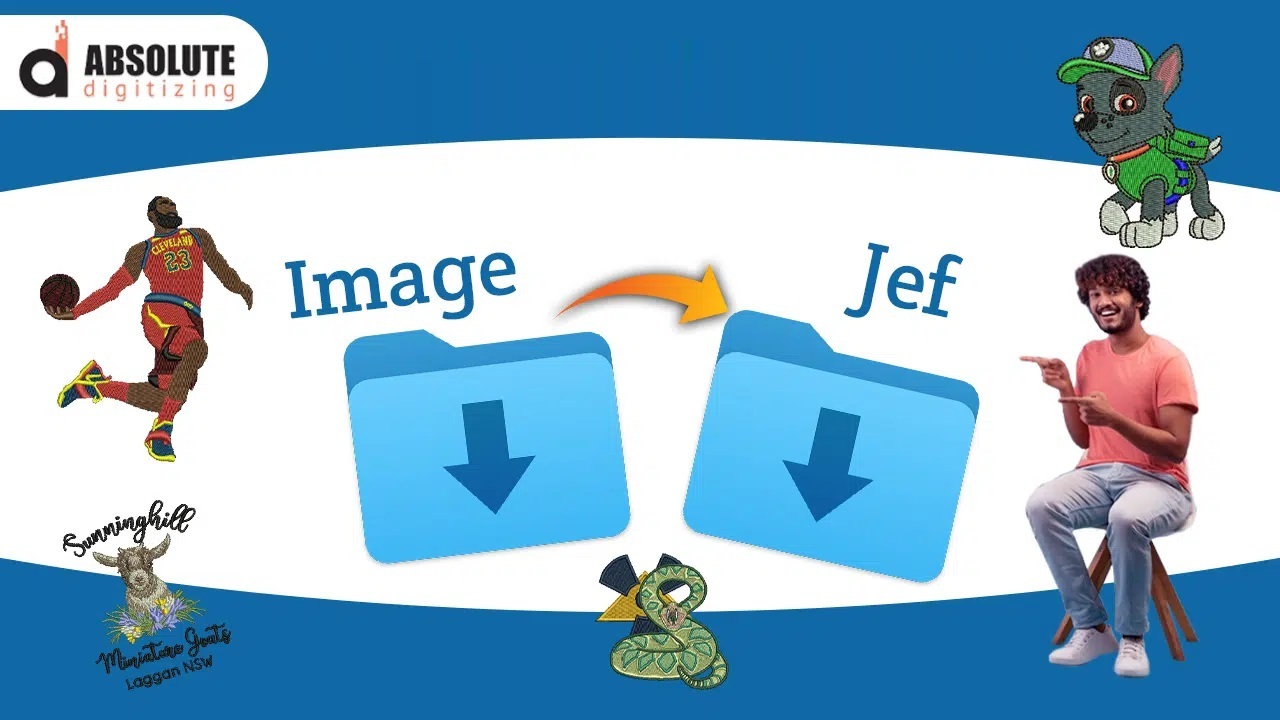
That is why you may need to convert image into JEF format. The process changes ordinary artwork into an embroidery design containing stitch information that a compatible machine can read.
But there is an important difference between simply changing a file type and creating a proper embroidery file. A successful conversion requires digitizing the artwork, choosing suitable stitches, setting density, and adjusting the design for its final size.
This guide explains the process, common problems, and practical tips for creating a clean JEF embroidery design.
JEF is an embroidery file format commonly used by compatible Janome embroidery machines. Instead of storing an image like a JPG or PNG, a JEF file contains instructions for stitching the design.
These instructions can include:
In simple terms, an image tells you what a design looks like, while an embroidery file tells the machine how to stitch it.
Images are not automatically ready for embroidery. Before a machine can stitch an image, the artwork needs to be translated into embroidery objects and stitch paths.
When you convert image into JEF format, you prepare artwork for a compatible embroidery machine and make it possible to control important embroidery settings.
A properly digitized design can offer:
This is especially useful for logos, names, simple illustrations, badges, and other artwork that you want to reproduce with thread.
It helps to understand why an ordinary image cannot simply be renamed as a JEF file.
| Image File | JEF File |
|---|---|
| Displays artwork | Contains embroidery instructions |
| Uses pixels or graphic shapes | Uses stitches and machine movements |
| Created for screens or print | Created for embroidery |
| Can contain fine visual details | Details must work with thread |
| Not directly machine-ready | Designed for compatible embroidery systems |
For example, a PNG may show a thin black line that is only a few pixels wide. An embroidery machine cannot simply reproduce those pixels. The line must be converted into an appropriate stitch structure.
The conversion process usually involves several stages. Taking time with each one can make a noticeable difference in the finished embroidery.
Start with the highest-quality image you have.
A clear image makes it easier to identify edges, shapes, colors, and lettering. Low-resolution images may contain blurry edges that make accurate digitizing more difficult.
Good source files can include:
If you have a vector version of the artwork, it can often provide cleaner shapes than a small raster image.
Before digitizing, remove unnecessary elements from the image.
Look for:
You do not always need to reproduce every detail. Embroidery works differently from digital graphics, so simplifying an image can actually improve the final result.
Decide how large the design will be before creating the final stitch file.
A logo intended for a shirt may be several inches wide, while a small chest design or cap logo may be much smaller.
This matters because details that look clear on a large design can disappear when reduced.
Now the artwork needs to be recreated as embroidery elements.
Depending on the design, this can include:
Each part should be planned according to its shape and size rather than automatically using one stitch type for everything.
Different shapes require different stitch structures.
Satin stitches are useful for narrow columns, borders, and suitable lettering.
Fill stitches work well for larger areas that need broad thread coverage.
Running stitches can be useful for fine lines and outlines.
Choosing the correct stitch type helps the design look natural instead of appearing bulky or uneven.
Stitch density controls how closely stitches are placed.
If density is too low, the fabric may show through the design. If it is too high, the embroidery can become heavy and may create unnecessary thread buildup.
The right density depends on several factors, including:
A good digitized design balances coverage with efficient stitch usage.
Underlay provides a foundation beneath many embroidery elements.
It can help stabilize the fabric and support the top layer of stitches. It can also improve coverage and help maintain the shape of certain objects.
Underlay should be selected according to the design and fabric rather than applied blindly to every element.
Match the original image colors as closely as practical.
Remember that thread colors may look different from colors displayed on a computer screen. The goal is to preserve the overall appearance and important color relationships of the original artwork.
For a business logo, accurate brand colors can be especially important.
The order in which different elements are stitched affects the final result.
A well-planned sequence can reduce:
The design should generally progress in a logical order so that later elements help cover or define earlier ones where appropriate.
After digitizing and reviewing the design, export it in JEF format using compatible embroidery software.
Before sending the file to your machine, check:
It is also smart to test the design on a similar piece of fabric before using it on the final product.
Simply getting a JEF file does not guarantee good embroidery. Several problems can appear if the artwork has not been digitized correctly.
Very fine details may not survive the conversion into stitches. Simplifying small elements can make the design more recognizable.
Small lettering is one of the most challenging parts of embroidery. Letters may become crowded if they are too small or have unsuitable stitch settings.
Insufficient coverage can leave unwanted gaps. Adjusting stitch density, underlay, and object structure may help.
More stitches do not automatically mean better quality. Too many stitches can increase production time and create unnecessary thread buildup.
Fabric can move, stretch, or pull during stitching. Proper digitizing, stabilization, underlay, and compensation can help reduce distortion.
Keep these tips in mind when preparing your embroidery artwork:
Some software and online tools may advertise automatic image-to-embroidery conversion. These tools can be useful for simple artwork, but automatic results may not always produce production-ready embroidery.
An automated system may struggle with:
For simple designs, automatic conversion may provide a starting point. For professional embroidery, manual editing and digitizing are often needed.
Professional digitizing can be useful when your design contains detailed artwork, small text, multiple elements, or needs to be embroidered on challenging materials.
Consider professional assistance when:
At Absolute Digitizing, artwork can be prepared with embroidery requirements in mind, helping turn ordinary images into properly structured embroidery designs.
Before starting your embroidery machine, take a few minutes to inspect the design.
Make sure the design fits the intended hoop and finished product.
Look for strange jumps, unnecessary trims, or areas that appear too dense.
Make sure the thread sequence matches your planned thread colors.
Verify that your embroidery machine supports the JEF format and that the file is appropriate for the machine and hoop.
When possible, stitch the design on a similar fabric with the intended stabilizer. This is one of the best ways to identify issues before production.
Learning how to convert image into JEF format is an important step for anyone who wants to turn digital artwork into machine embroidery. However, successful conversion is about much more than changing a file extension.
The artwork must be converted into carefully planned stitches. Size, density, stitch type, underlay, thread colors, sequencing, and fabric all affect the final result.
Start with clean artwork, simplify details when needed, digitize each element properly, and always preview or test the finished design. With the right preparation, an ordinary image can become a clean JEF embroidery file ready for compatible embroidery machines.
It means transforming artwork such as a JPG or PNG into a stitch-based embroidery design that can be saved as a JEF file for compatible embroidery machines.
A JPG cannot simply be renamed as a JEF file. The image needs to be digitized into embroidery objects and stitches before it can be exported as JEF.
No. JEF is an embroidery machine file format. It contains stitch and machine-movement information rather than ordinary image pixels.
Clear, high-resolution artwork with simple shapes and well-defined colors is generally easier to digitize. Vector artwork can also provide clean source shapes.
You can use professional embroidery digitizing services such as Absolute Digitizing to prepare artwork according to the desired size, fabric, and embroidery requirements.


In our community, we believe in the power of connection. Our platform is more than just a social networking site; it's a vibrant community where people from diverse backgrounds come together to share, connect, and thrive. We're dedicated to fostering creativity, building strong communities, and raising awareness on a global scale.